 Dropping your line in the water is a pretty basic and simple thing to do when fishing and all you need to do so is a rod and reel and some kind of bait or lure. This article will cover a few basic techniques regarding how to set up your line with a fishing hook so that you can begin your next fishing trip off on the right foot.
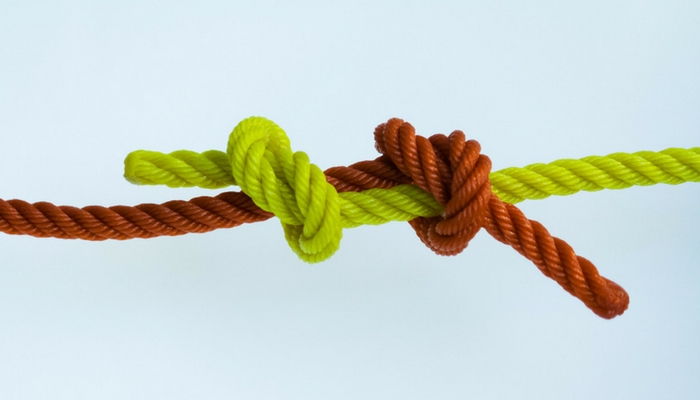
Uni Knots
When you want to start fishing, it is good to learn how to tie a few basic knots that you can then use when it comes time to attach your line and rigs to the hook. The uni knot is one of these basic knots and is pretty straightforward and easy to learn.
First, you want to run the line through the eye of the hook and then back again to form a loop when you leave the tag end (the end of the line) over the double line. Then you will wrap that tag end around the double line via the loop. To provide the knot with more strength, you will want to repeat this six times and then pull the main line to tighten the knot on the hook.
If you know how to tie your shoes, then you will find that learning to tie this knot is going to be easy.
The Fisherman’s Knot
The Fisherman’s Knot, also known as the clinch knot, is a knot every angler should know how to tie and if you are a professional or seasoned angler, then it very well may have been the very first knot you were ever taught.
To effectively tie this knot, you should first run the tag end of the line through the hook’s eye and pull approximately ten inches of the fishing line through the eye of the hook. Then wrap the tag end through the loop that can be found next to the hook eye.
Next, pass the tag end through the same loop and hold that and the standing end, or the rest of the fishing line, in one hand and the hook in the other and you will then begin to apply steady pressure as you pull the line and tighten the knot. Finally, clip the tag end, so there is only about one-eighth of an inch left. To do this, you can use a fingernail clipper to make more of a clean and simple cut to the tag end.
Orvis Knot
The next knot is known as an Orvis Knot. It is a strong alternative to the above-mentioned clinch or fisherman’s knot and is just as easy to do. You will begin by threading the hook by passing the fishing line through the hook eye. You can then form a figure eight with the fishing line and thread the end of it back through the first loop you made.
You will then proceed to feed the tag end through the top of that second loop you created and then repeat this action a second time through the loop. Finally, lubricate or moisten the fishing line to then pull the tag end tightly to secure the knot. As always, carefully trim the tag end.
All of these knots discussed ask that you moisten the fishing line prior to completing the last step of the knot because it will help with any friction there may be later and will help protect the fishing line from enduring any kind of damage.
Fishing Hooks
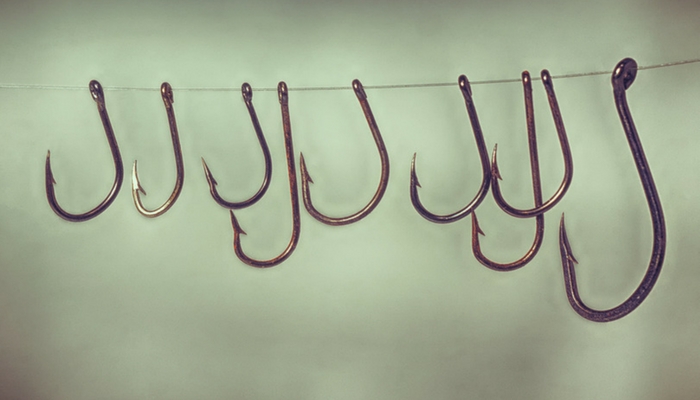
After learning how to tie a few simple knots, you will want to learn about fishing hooks that you can use. If you plan on using live bait, then it is best to use the smallest hook possible to make the bait look more natural to the fish.
A small hook has several other advantages over larger hooks as well including being able to penetrate much quicker once the fish strikes. You should also always examine the hook to see how sharp it is. A dull hook will not be effective to catch fish.
As we delve into the different sizes of hooks, it can become a bit confusing. While there is no one standard sizing chart for hooks, it is easier to remember that the higher the number, the smaller the hook will be. The hook sizes vary from one being the largest to a 32, which is the smallest.
Common Types of Fishing Hooks
Next, we will take a look at some of the more common types of fishing hooks:
The Aberdeen: This fishing hook is a light wire long shank hook that can be used under a slip bobber or can be attached to a bobber rig. The use of a lighter wire means the live bait you use will stay alive longer and the longer shank allows for easy removal of the fish from the hook after it bites.
Bait Holder: The most common and most popular of the hook types, the bait holder can hold live bait much more effectively than other hooks, including slippery and wiggly worms and other night crawlers.
Circle: If you are a catch and release angler, then a circle hook is what you will want to purchase. The hook positions itself in the corner of the fish’s mouth and makes it easier for the angler to remove while also increasing its chances of survival.
Octopus: This type of fishing hook has more of a rounded shape and is a popular choice for catching a variety of different species of fish. They also come in a variety of different painted and metallic finishes.
Rotating: This hook will automatically turn once a fish bites the bait. This allows easy penetration of the hook from different angles and will hold the fish in place much better as you reel it in.
To successfully set up your line with a fishing hook, it is imperative that you learn a few of the more basic knot types that anglers utilize, and also learn which hook would be best suited for your next fishing trip.